|
|
Image: QuadPro Automatic Resistivity Wafer Mapping
System
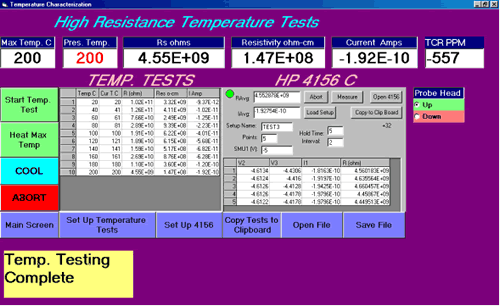
The Signatone QuadPro resistivity system includes a computer, stepper controller, and base station with either a 200 or 300mm diameter isolated chuck. The software allows for selecting 1, 5, 9, 25 or 49 points for automated testing and mapping of the test sample. Positioning patterns may be set to either round or square configuration. The edge exclusion may also be defined. On the first measurement, the software auto ranges the meter finding the best settings for the sample testing. Dual configuration assures that errors introduced by the probe head manufacturer are eliminated, increasing the repeatability and accuracy of measurements. The Software controller automatically steps to each position and records the X-Y position, Sheet Resistance, Resistivity and V/I measurement in a visible table. Upon completion of the test points, a wafer contour map is displayed. The contour map may be toggled between 2D and 3D viewing. The average and standard deviation of resistivity and sheet resistance display prominately above the contour map. QuadPro TCR Option The Temperature Coefficient of Resistance option integrates temperature control of the test sample as well as the automated source meter control and resistance calculations. Integrated with a variety of Signatone thermal chuck systems, the test allows setting of temperature steps in degrees C, dwell time at temperature before reading, starting temperature and ending temperature. Each temperature, and resistance reading is stored in a table and plotted on a graph for analysis.
Image: TCR Test Screen
Image: High Resistance TCR Test Screen Signatone offers a variety of thermal chucks and temperature ranges. The standard, most common range is ambient to 350°C. However, different combinations of chucks and controllers could have a low of -55°C to a high of 600°C. The QuadPro standard configuration includes the Keithley 2400 Source Measurement Meter. This meter allows resistance measurements in the range of 1 milliohm to 2 megaohms. Some of the newer high resistance materials require a greater resistance measurement range. For those applications, Signatone implements the Agilent 4156 Parametric Analyzer along with special triaxial shielding. This configuration increases the range from 100 millohms to 10 gigaohms, see to the right. Four Point Probe Heads Signatone offers two probe heads to choose from; the SP4 and the HT4. The SP4 is an inline probe made of delrin and used in most applications. Several choices are available for configuration to your specific application. The three spacings are .040, .050 and .0625 inches. The three pressures available are 45, 85, and 180 grams. Tips are made of Tungsten Carbide or Osmium and a choice of .0016, .005, .010 inches radius.
The HT4 inline four point probe head looks similar to the SP4 but is made of ceramic and designed for high temperature and high resistance measurements. The HT4 accurately collects data at temperatures up to 650°C. The coaxial high temperature wiring also allows resistance measurements up to 10 Gigohms. The HT4 features spacing of .050 and .0625 inches and pressure is fixed at 180 grams. Tips are made of Tungsten Carbide or Osmium and a choice of .0016, .005, .010 inches radius. Click here for 4 point probe head data sheet QuadPro Test & Calibration. The system uses the Dual Configuration test method of ASTM Standard F84-99 to compensate for errors in probe spacing and errors caused by proximity to the edge of the conducting layer. NIST traceable calibration standards are available for purchase with the system. Proper use of the standards and the calibration procedure insures the specified system accuracy of better than 1%. Signatone Pro4 manual Four point probe with computerised measurement system. The Signatone Pro4 series provides simple answers to sheet and bulk resistivity measurements. Since 1968, Signatone has offered an inline Four-Point Probing solution. To make the measurements, the user lowers the Four-Point Probe head onto the sample then selects the test button in the software. The computer automatically controls the Keithley 2400 series and steps through a number of current settings to find the ideal current for accurate readings.
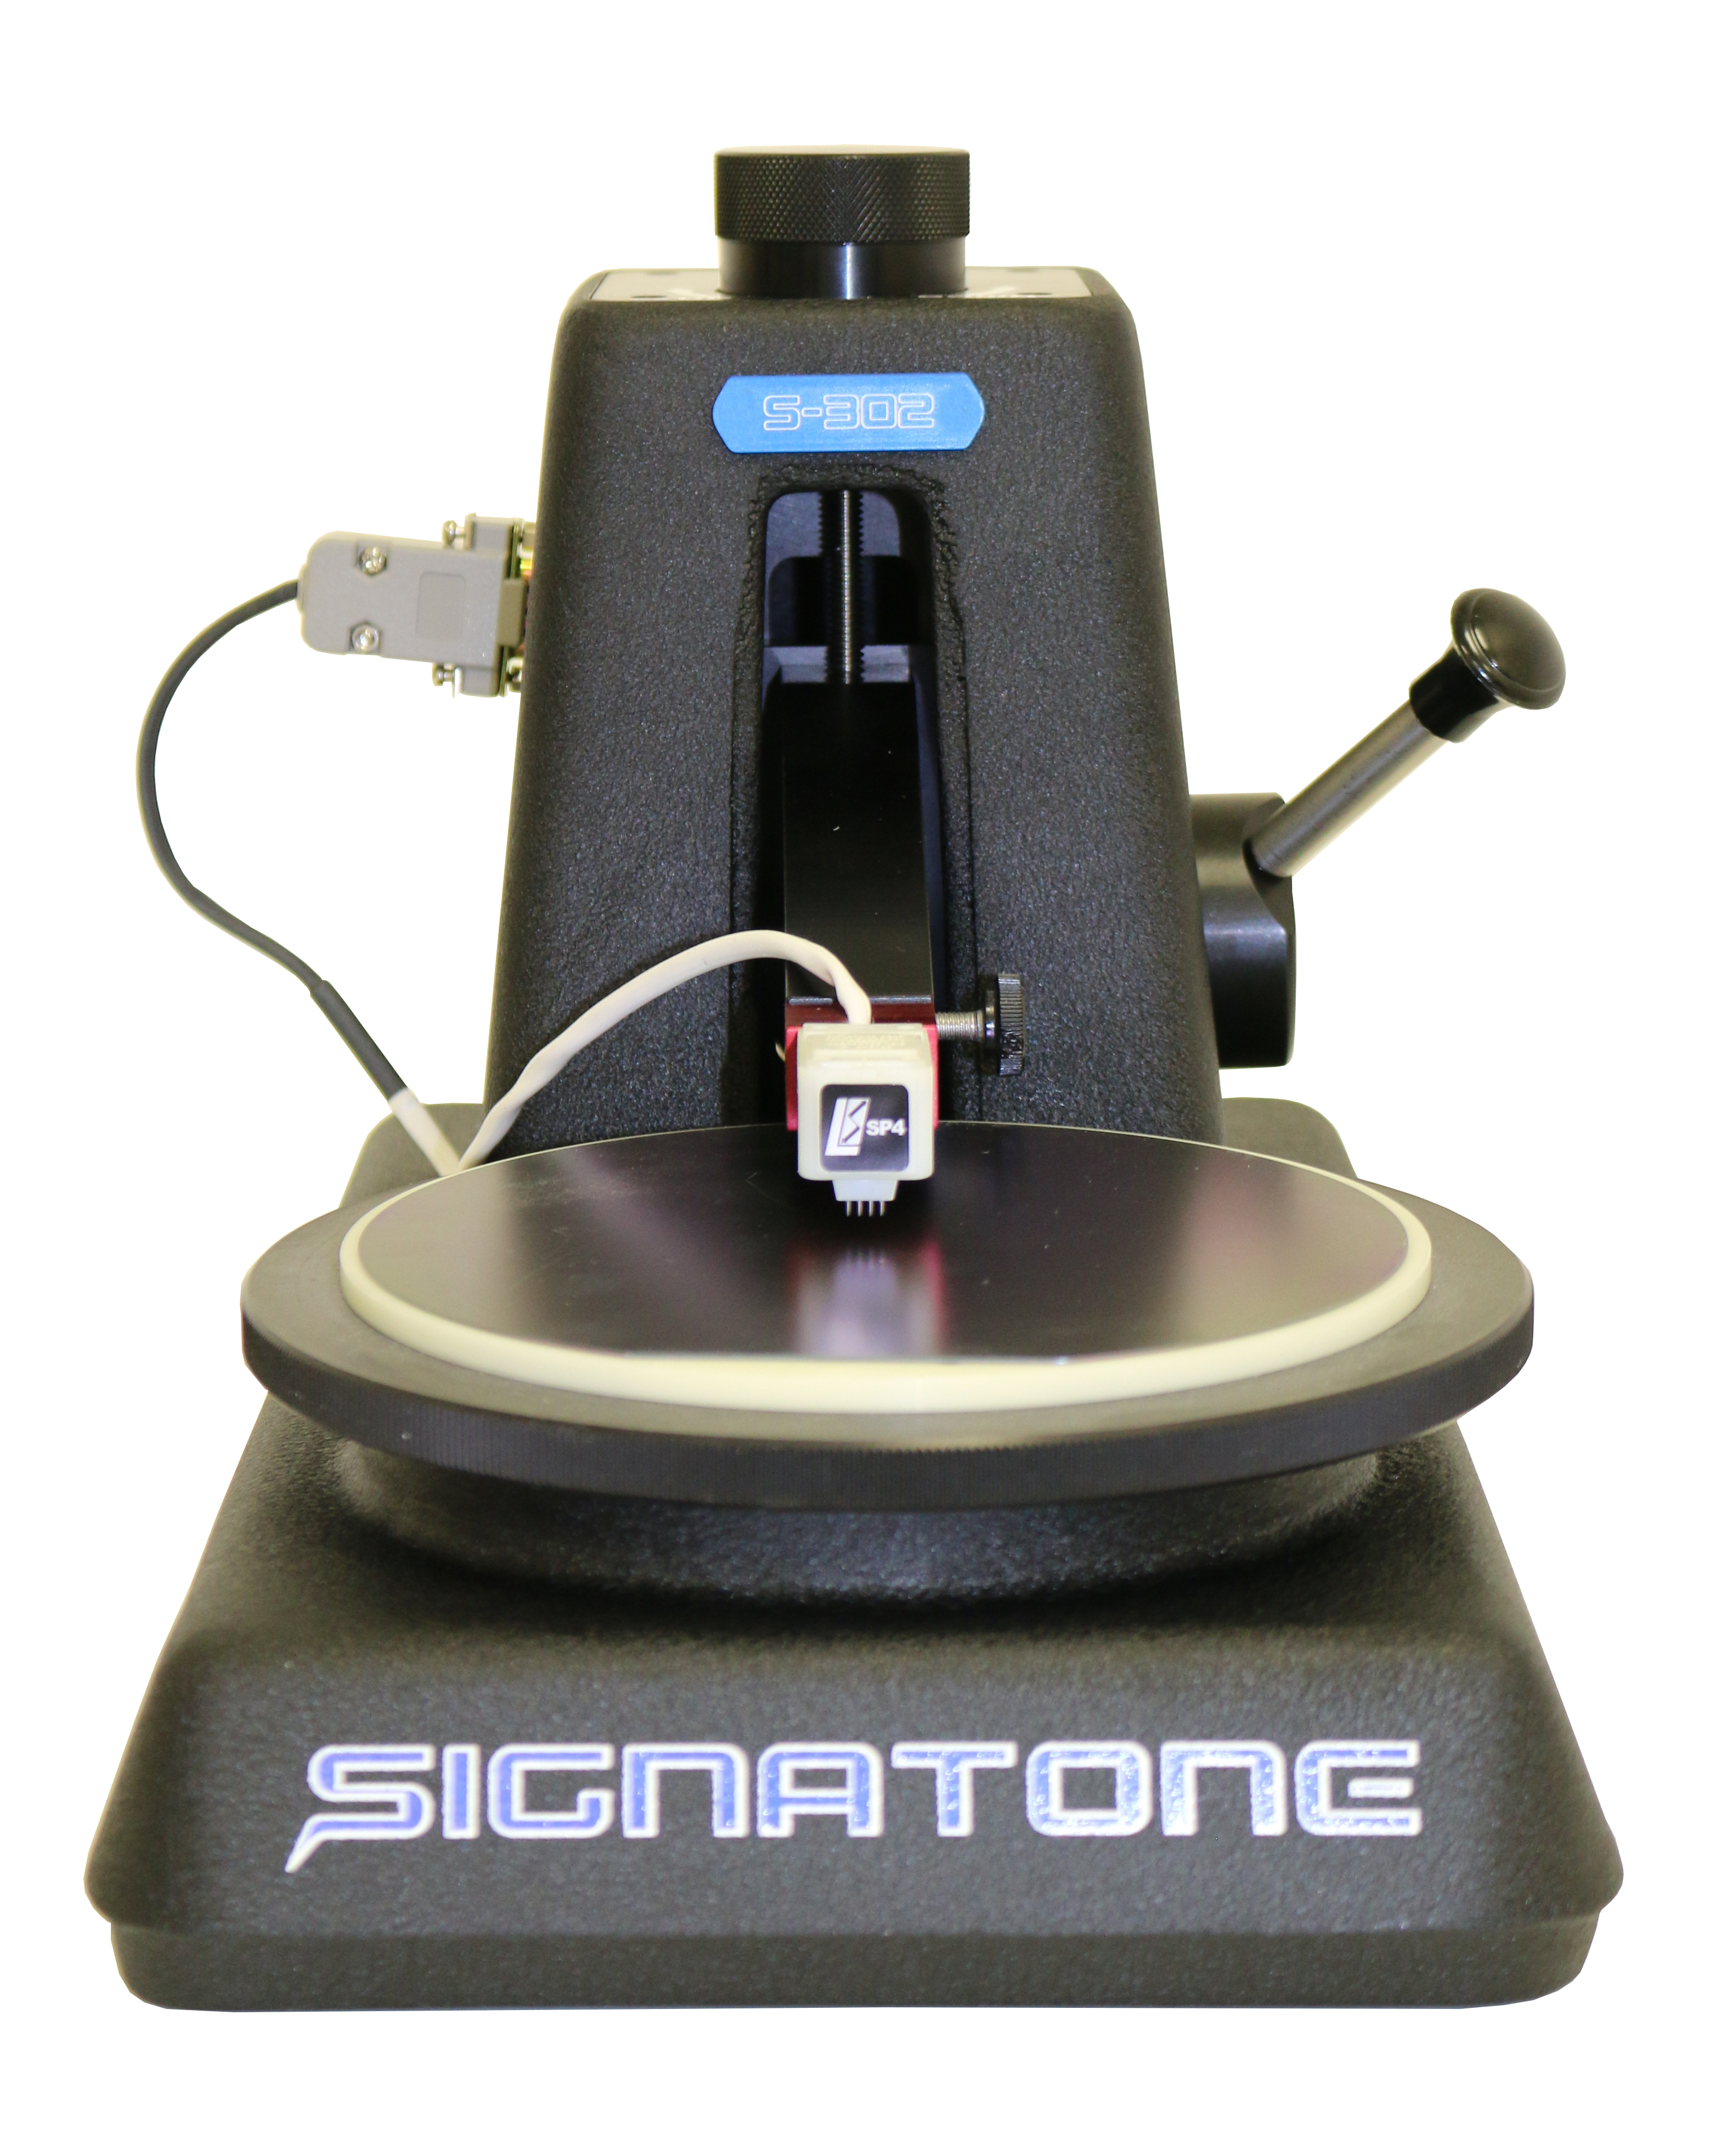
Image: S-302 mounting stand To see the full resistivity product range available and individual product data sheets, please click on the link; Signatone Resistivity Measurement range or visit |
Copyright ©2024, Sel-Tek Limited, All Rights Reserved.

.jpg)


